
Last Updated: November 10, 2026
Quick Summary
Plan a DIY baby shower by setting your total budget and guest list first, since the guest list drives every other cost. Then build a dated checklist worked backward from the party date, covering venue, theme, invitations, supplies, menu, decorations, and games. Keep decorations to three anchors and serve make-ahead finger foods.
- Count your guests before you price a single item, because the guest list drives the budget.
- Build your planning checklist backward from the party date, assigning each task to a week before.
- Limit decorations to three anchors: a backdrop, a table centerpiece, and one banner.
- Plan roughly 8 to 10 bites and about 3 drinks per guest for a 2-hour afternoon shower.
- Keep games to 15 minutes total and pick just two, with small useful prizes.
Table of Contents
- How to Plan a DIY Baby Shower on a Budget
- Your DIY Baby Shower Planning Checklist
- DIY Baby Shower Decorations on a Budget
- Baby Shower Food Ideas on a Budget
- Games, Favors, and Inclusive Hosting Tips
- Check Your Date at 143 Event Studio
- Frequently Asked Questions
How to Plan a DIY Baby Shower on a Budget
Learning how to plan a DIY baby shower starts with one number: your total budget. Everything else, from the guest list to the food, flows from that figure.
A DIY baby shower is a celebration the host plans, decorates, and runs without a full-service planner. It saves money on labor but costs time and organization, so build a written plan before you buy anything.
consumer spending guidance from the U.S. Federal Trade Commission
Set Your Budget and Guest List First
The guest list drives the budget, not the other way around. Count your guests before you price a single item.
Start with a total you can spend without stress, then split it roughly like this:
- Food and drinks: the largest share
- Decorations: the most flexible share
- Paper goods and favors: the smallest share
Pick a Date, Time, and Venue
Early afternoon is a common choice for baby showers. That window lets you serve light food and skip a full meal.
For the venue, you have two paths:
- Host at home: free, but limited by space and cleanup.
- Book a studio or hall: costs more, but may provide tables, chairs, and room to breathe.
If you host at home, check parking and bathroom access first. A heavily pregnant guest of honor needs easy seating and short walking distances.
Your DIY Baby Shower Planning Checklist
A DIY baby shower planning checklist is a dated list of every task, assigned to a week before the event. Build it backward from the party date.
- Set the budget and guest list
- Choose the date and send save-the-dates
- Book the venue or confirm your home setup
- Pick the theme and colors
- Send invitations and track RSVPs
- Order or buy supplies
- Plan the menu and drinks
- Build decorations
- Plan games and prizes
- Do a full setup walkthrough the day before
A Realistic Timeline for Different Lead Times
Timelines change with how much notice you have. Use the row that matches your situation.
| Lead Time | First Move | Invitations Go Out | Decorations Built | Final Setup |
|---|---|---|---|---|
| 8+ weeks | Book venue, set budget | 6 weeks out | 2 weeks out | Day before |
| 4-6 weeks | Confirm venue, finalize list | 3 weeks out | 1 week out | Day before |
| 2-3 weeks | Trim guest list, simplify theme | 2 weeks out | 3 days out | Morning of |
| Under 2 weeks | Host at home, keep decor simple | Text or email invites | 2 days out | Morning of |
Short timelines reward simplicity. A clean table, one balloon cluster, and good food beat an elaborate plan you cannot finish.
DIY Baby Shower Decorations on a Budget
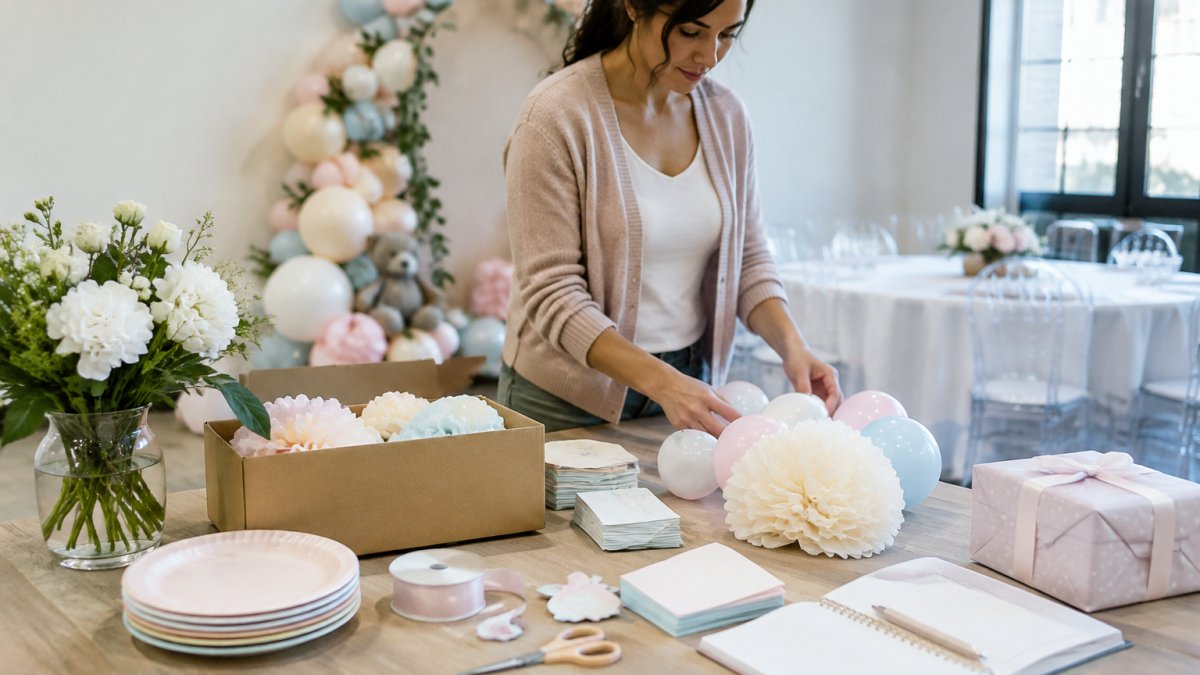
DIY baby shower decorations on a budget come down to three anchors: a backdrop, a table centerpiece, and one banner. Build those first and the room looks finished. Price each anchor before you buy, because decoration budgets spiral when you shop without a materials list.
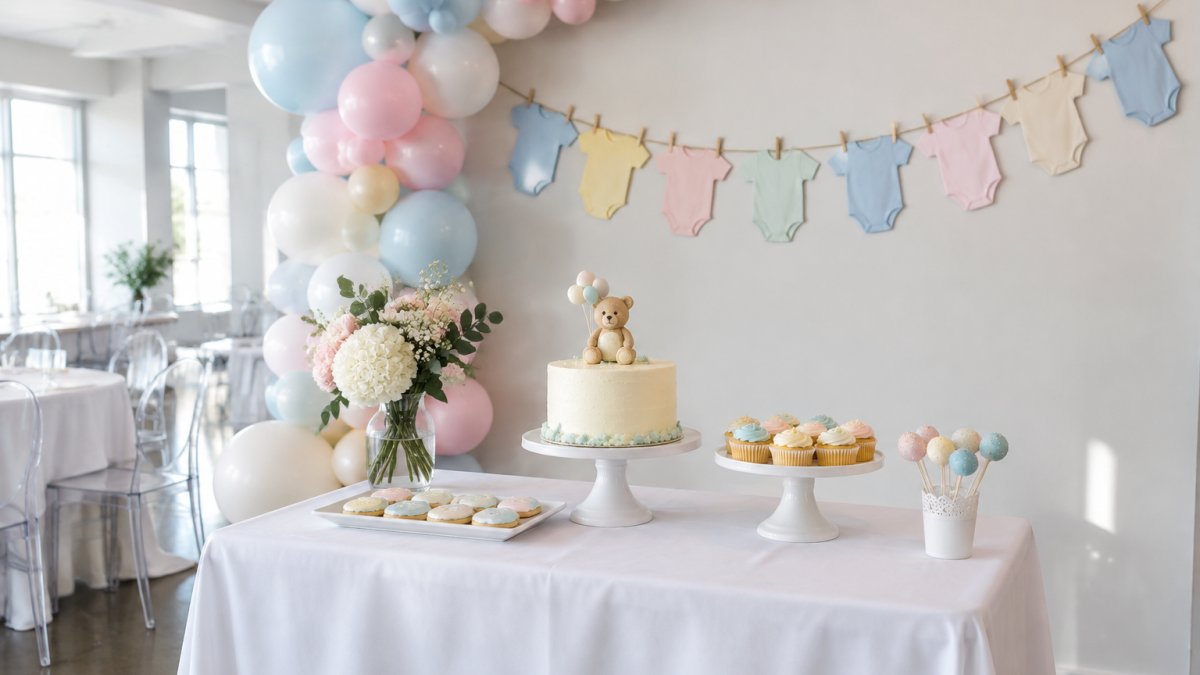
Skip the urge to fill every wall. Empty space reads as calm, and it saves money.
A Realistic Decoration Budget
Decoration budgets vary widely with guest count and materials. Price each anchor from your own materials list before you buy, and keep a small buffer for tape, scissors, and touch-ups.
Buying balloons in bulk packs rather than pre-made garlands is often more economical; compare prices at your local retailer.
Step-by-Step Decoration Builds
Balloon garland (difficulty: easy, about 2 hours, $25 to $45)
- Inflate balloons to slightly different sizes, mix 10-inch and 5-inch balloons so the garland looks organic.
- Thread the tied ends through the holes on a balloon strip, alternating colors and sizes. If you use fishing line, tie each balloon knot around the line and slide it along.
- Build the garland in sections of 3 to 4 feet so it is manageable to hang.
- Tape or hook the sections along your backdrop, overlapping the ends so the seams disappear.
Helium balloons ordered too early may droop by party day, so plan the timing of your garland carefully.
Onesie banner (difficulty: easy, about 30 minutes, $5 to $12)
- Trace and cut 8 to 12 onesie shapes from cardstock.
- Punch two holes near the shoulders of each shape.
- String the shapes onto ribbon, spacing them evenly.
- Write the baby's name or "Oh Baby" across the shapes with a marker.
Centerpiece (difficulty: easy, about 20 minutes each, $10 to $20 total)
Materials: clear vases or mason jars (one per table), fresh greenery, small balloons, or a few stems of flowers.
- Fill each vase with a small balloon cluster or fresh greenery.
- Repeat the same centerpiece on every table for a pulled-together look.
- Keep the height under 12 inches so guests can see across the table.
What to Buy vs. What to Make
Make anything that is mostly labor: banners, garlands, centerpieces, and signage. Buy anything that requires special equipment or a steady hand: cake toppers, printed invitations, and helium tanks. Whether renting a helium tank or buying individual helium balloons is cheaper depends on how many you need.
Setup Order That Saves Time
Set up in this order so you are not moving finished decor twice: tables and chairs first, then the backdrop and garland, then the banner, then centerpieces, then food and drink stations last. Keep a small repair kit, tape, extra balloons, scissors, and a marker, in one bag so you are not hunting for supplies during setup.
Baby Shower Food Ideas on a Budget
Baby shower food ideas on a budget lean on finger foods that need no last-minute cooking. A simple menu of three savory items, two sweets, and one drink station covers most crowds, and most of it can be made the day before.
Build a menu like this:
- Savory: sandwich pinwheels, a veggie tray, and a warm dip
- Sweets: a small cake plus one cookie or fruit option
- Drinks: water, lemonade, and one coffee or tea option
Ask about dietary needs on the invitation. Note nut-free, vegetarian, and gluten-free options so every guest can eat.
How Much Food and Drink to Buy
Plan on roughly 8 to 10 bites per guest for a 2-hour afternoon shower. Add about 3 drinks per person, more if the event runs long or the day is hot.
For a 25-guest shower, that looks like:
- 200 to 250 total bites across all items
- One small cake plus one backup dessert
- 75 or more drinks, including water
Buy a little extra of the cheapest item, not the most expensive one. That keeps a buffer without stretching the budget.
Per-Guest Cost Math
Food costs depend on whether you cook from scratch or buy prepared items and on your guest count. The biggest savings come from three moves: buy store-brand ingredients, make the dips and pinwheels yourself, and serve water and lemonade instead of bottled drinks.
Make-Ahead Timeline
Spread the cooking across three days so party day stays calm:
- Three days out: shop for shelf-stable items and drinks; wash and cut veggies.
- Two days out: make and refrigerate dips and cookie dough.
- One day out: assemble pinwheels, bake cookies, and chill drinks.
Three Simple Recipes
Sandwich pinwheels (makes about 40 bites, 20 minutes plus chill time)
Spread cream cheese or a flavored spread on large tortillas, layer with sliced deli meat, cheese, and spinach, roll tightly, wrap in plastic, and chill for at least an hour.
Warm dip (serves 20, 10 minutes prep)
Lemonade station (serves 25, 5 minutes)
Mix one part lemon juice to four parts water and sweeten to taste. Set out a large dispenser with ice, lemon slices, and a second dispenser of water so guests can choose.
Dietary and Allergy Labels
Label every dish with a small card listing the main ingredients and flagging the top allergens: milk, eggs, wheat, soy, peanuts, and tree nuts.
Watch out: a warm dip that sits out for more than two hours should be replaced or kept on a warmer, and cold items should stay on ice, plan your serving setup around food safety, not just looks.
Games, Favors, and Inclusive Hosting Tips
Games should take 15 minutes total, not fill the whole party.
Favors can be simple. A small bag of candy, a mini succulent, or a bookmark tied with ribbon works well.
Inclusive hosting matters just as much:
- Seat older guests and the guest of honor away from speakers
- Keep a quiet corner for anyone who needs a break
- Label food clearly for allergies and dietary needs
Watch out: a shower that runs past three hours wears guests out. Set an end time and stick to it.
Check Your Date at 143 Event Studio
The hardest part of a DIY baby shower is not the theme or the menu.
At 143 Event Studio in Henderson, we take that part off your plate. For more party ideas and venue tips, browse our blog before you finalize your plan.
Get started with 143 Event Studio and host a shower you actually get to enjoy.
Ready to lock in your party date? Check availability for your weekend and see the space set up for a shower like yours.
Frequently Asked Questions
How do you plan a DIY baby shower step by step?
Start with a budget and guest list, then lock in a date and venue. Send invitations about four to six weeks out and track RSVPs. Plan your menu and decoration builds two to three weeks ahead, buy supplies, and confirm any rentals. In the final week, prep food, build decorations, and set up the space the day before. A written DIY baby shower planning checklist keeps every step in order.
How much does it cost to throw a DIY baby shower?
Costs vary widely by guest count, menu, and venue choice. A home or backyard shower with homemade food and DIY decorations costs far less than a rented venue with catering. Set your total budget first, then divide it across food, decor, invitations, and venue. Track spending in a simple spreadsheet so small purchases do not add up unnoticed. Venue pricing depends on dates and package, so check current rates directly.
How far in advance should you plan a baby shower?
Most showers are held four to six weeks before the due date. Start planning six to eight weeks before the event date, and send invitations four weeks out so guests can RSVP. If you are booking a venue, reserve it as early as possible since weekend dates fill quickly. A compressed two-week timeline is workable if you keep decorations simple and order food instead of cooking.
What decorations can you make for a baby shower?
Balloon garlands, a onesie clothesline, paper fan backdrops, and a decorated gift table are all easy DIY baby shower decorations on a budget. Buy balloons in bulk and build the garland the night before. Print simple signs at home and frame them in thrifted frames. Reuse items like glass jars for centerpieces. Keep a neutral base of white linens and add color through balloons and paper so the setup looks cohesive.
